|
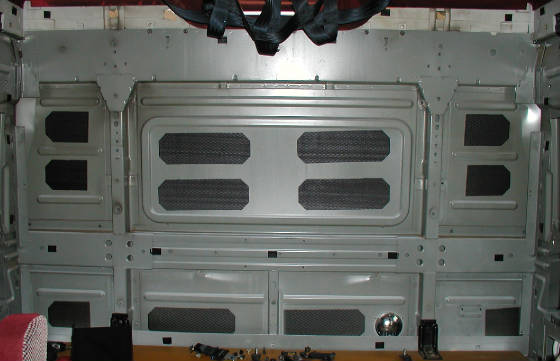
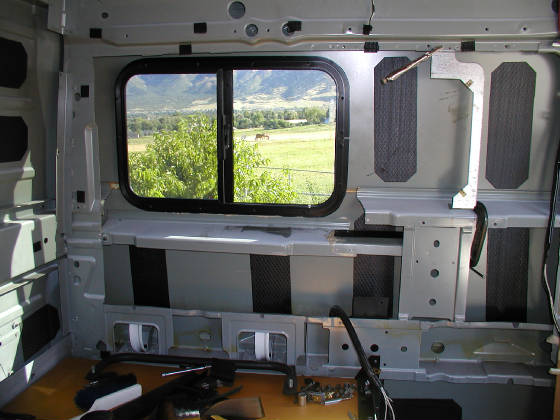
This is what I found when I opened up the wall. The window is too tall to fit between the upper and lower stiffeners
or rails. I decided early on that the middle rail needed to be relocated.
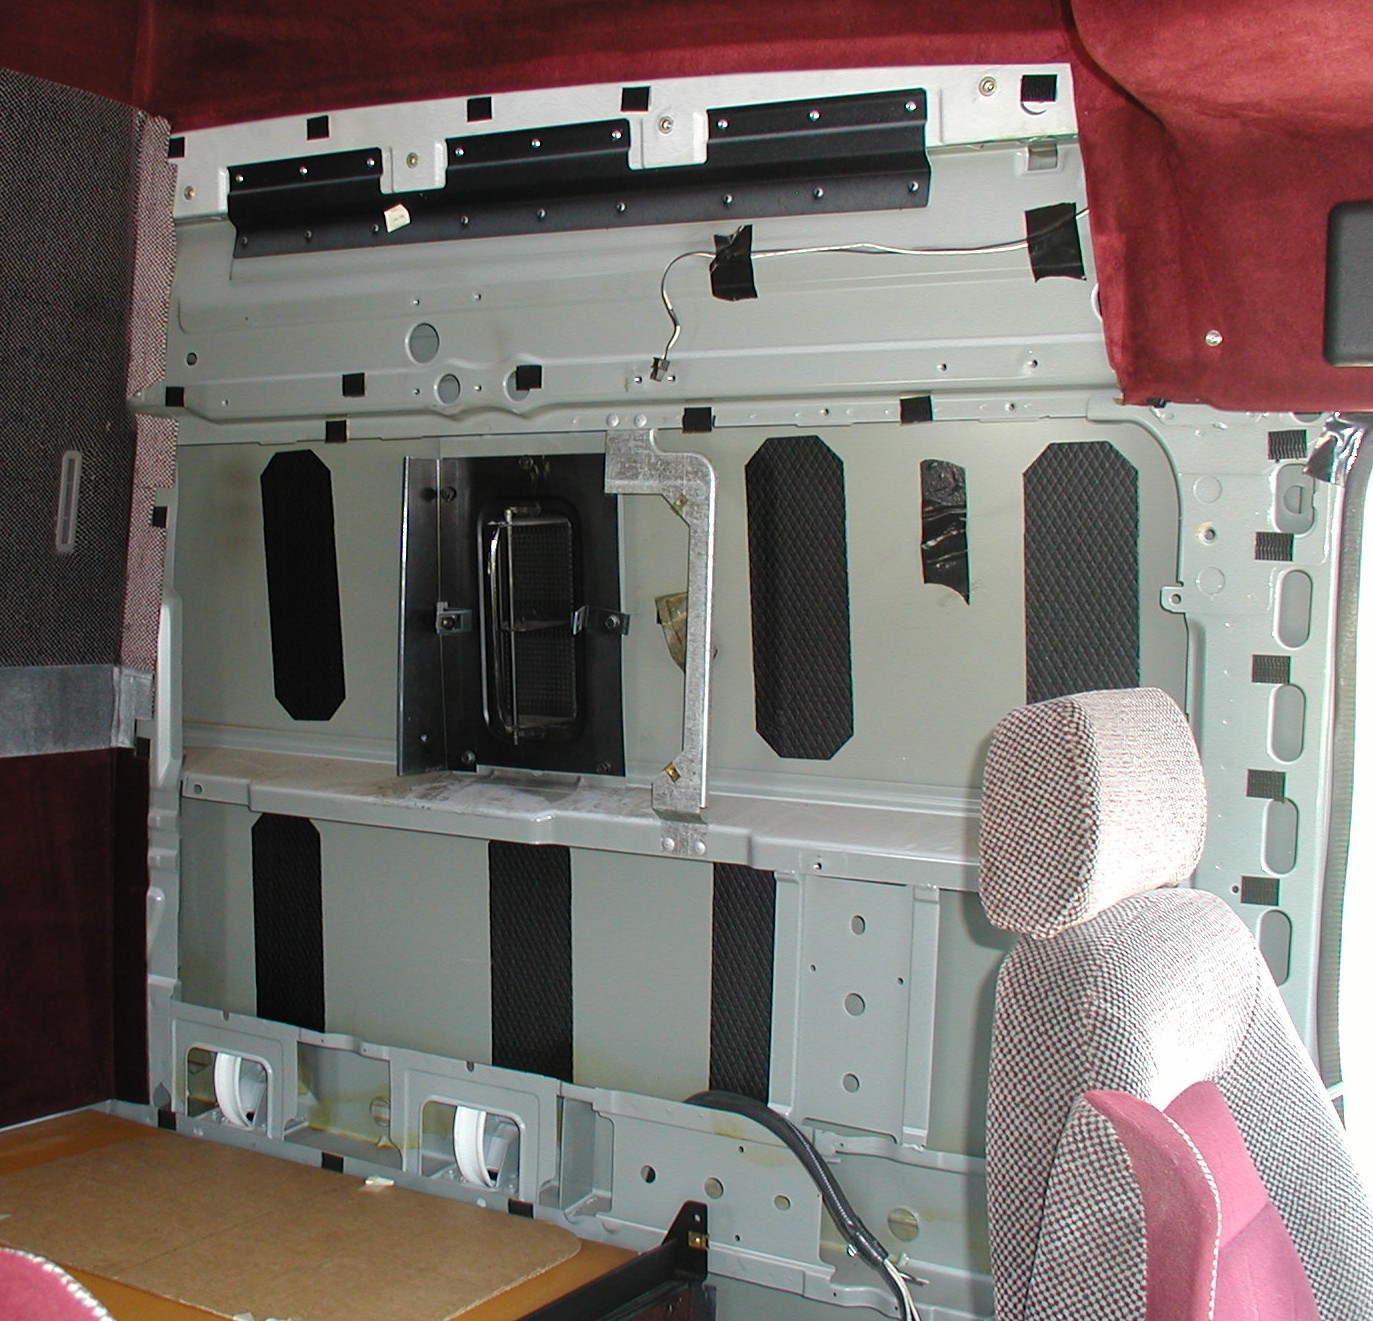
This is the rear bulkhead after removing the fabric wall covering.
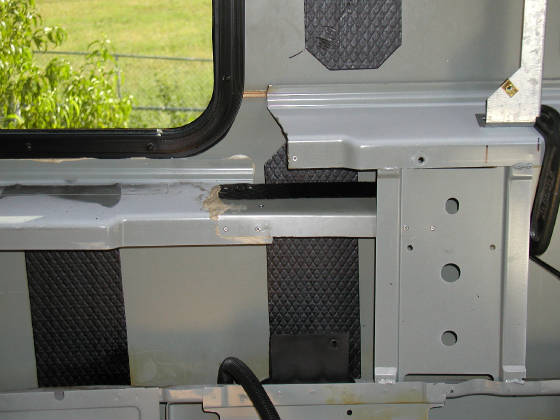
All the obstructions have been removed to cut the hole in the side of the sleeper. The rail that was removed is laying
on the bed platform at the base of the wall. It will be reused below the window.
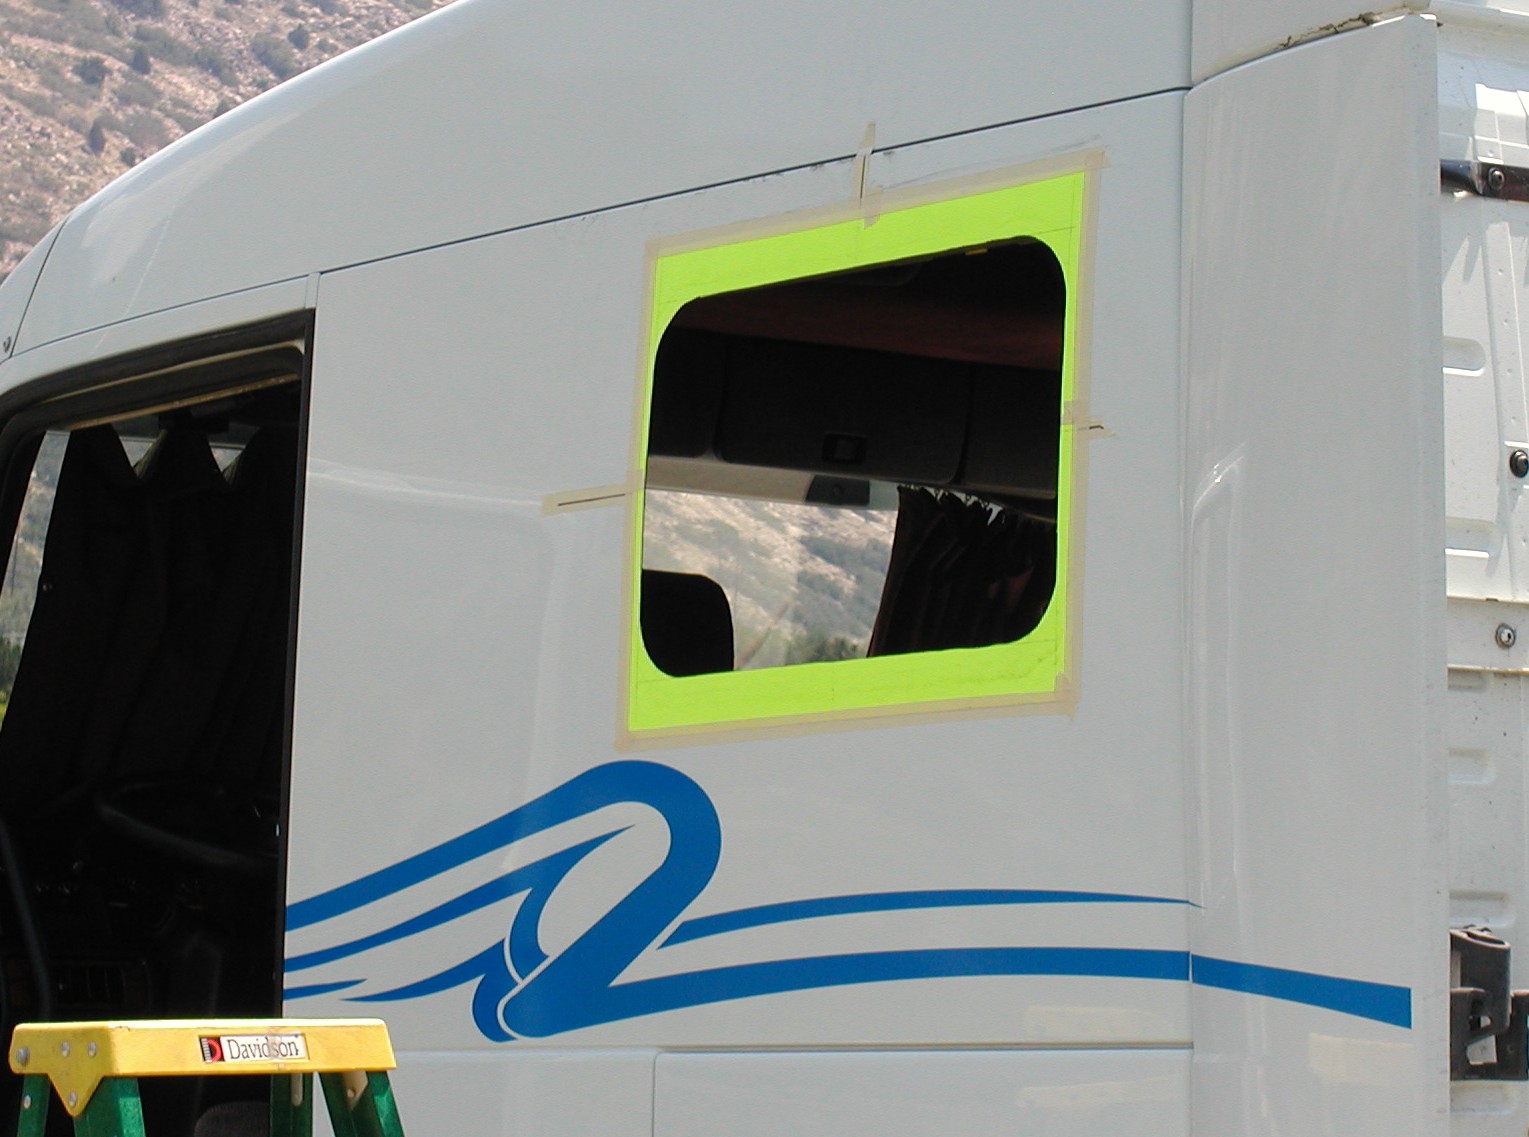
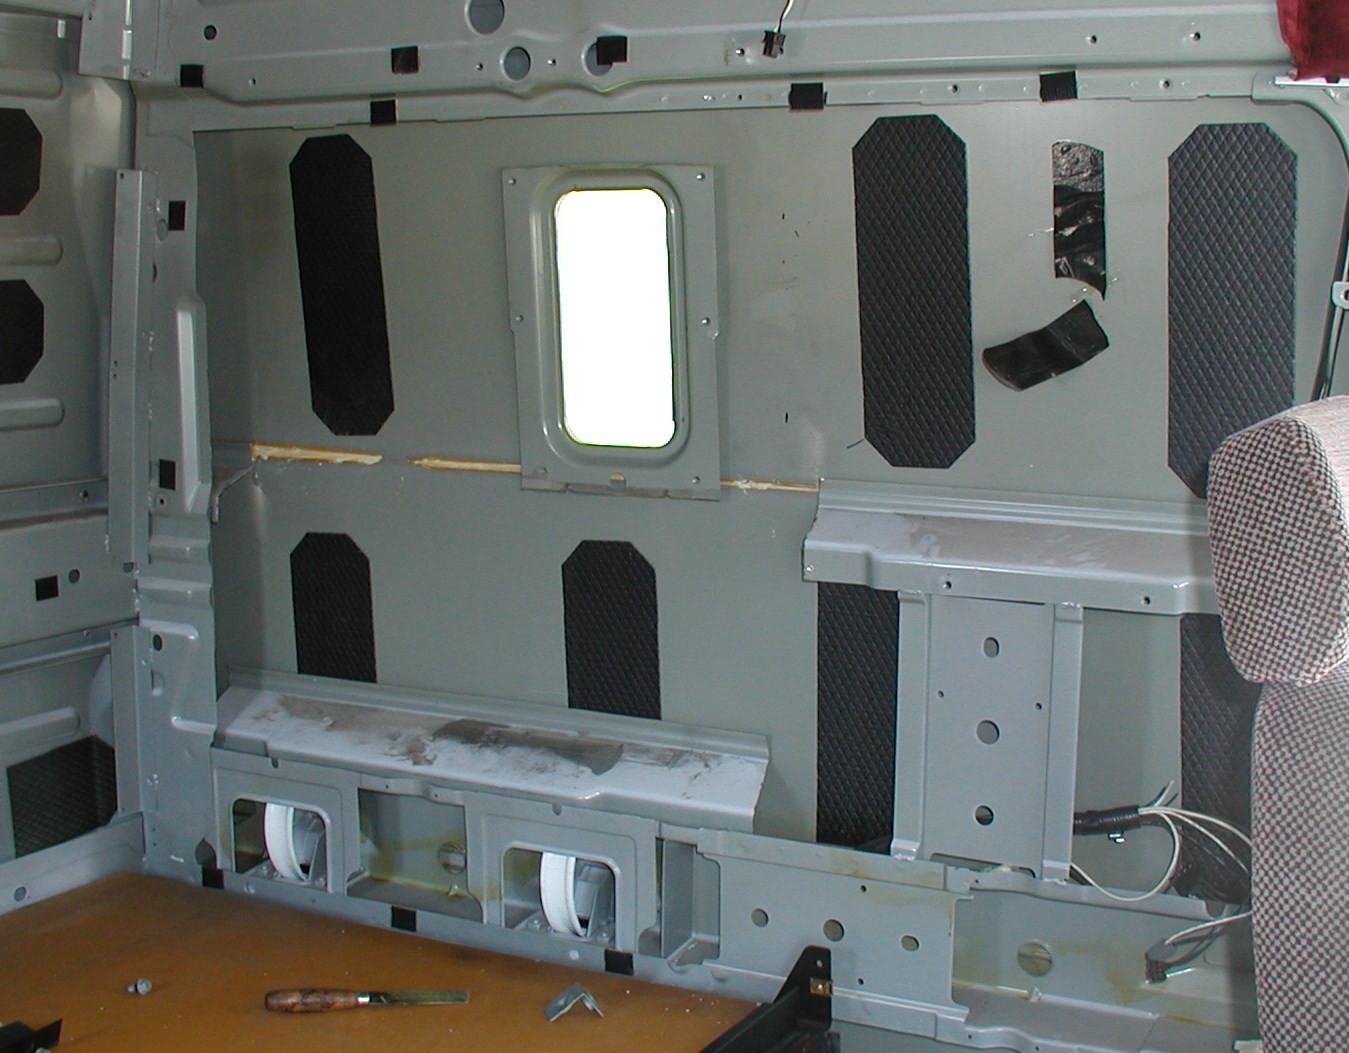
The hole is cut and there is no turning back now.
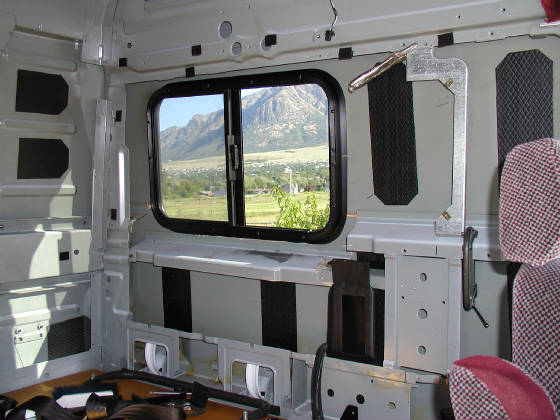
The window is installed and the horizontal reinforcement rail has been installed below the window. I used the piece
that I cut out and added sheet metal pieces to each end to make it long enough to attach it at the front and back.
This is a close up of the area that I added the sheet metal. I used adhesive and pop rivets to put it together. I would
rather have welded but I don't have a welder. There is also adhesive between the horizontal member and the outer skin of the
truck, to try to duplicate the original construction.
I have added the ventilation. I cut the vent from the passenger side and used the top portion here. I tapped into the
vent at the top of the blower assembly and ran a tube under the bunk to the drivers side as shown here. The passenger side
was relocated slightly forward of its original position to accomidate the window. The bracket for the rear heater control
can also be seen in its new location.
|